hugo安装与入门
Contents
ubuntu 18.04安装hugo最新稳定版
- 在站上下载安装包 https://github.com/gohugoio/hugo/releases
- 安装即可
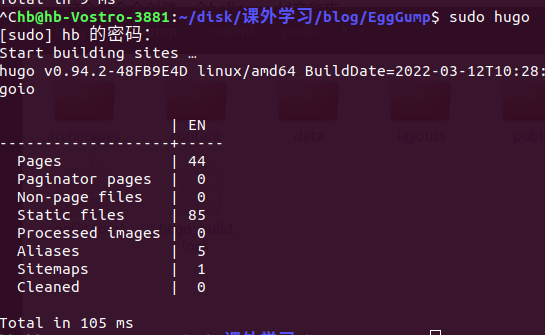
- `sudo hugo version`查看版本
创建hugo站
|
|
这个命令会创建一个hello-world文件夹
进入 hello-world文件夹
|
|
即可显示提示信息, 若不这样显示, 就是出错了, 网上查别的教程吧

至此安装完成
选择主题
hugo这个博客是需要配合现有的主题的, 我这里使用的是DoIt主题
主题下载
在这个网址下臷主题网址,我选择的是DoIt. DoIt的使用教程在这里
主题使用
- 下载主题并放到./hello-world/themes文件夹里
- 修改配置文件,就是根目录下的config.toml, 这里使用的是DoIt网站上提供的默认配置
1 2 3 4 5 6 7 8 9 10 11 12 13 14 15 16 17 18 19 20 21 22 23 24 25 26 27 28 29 30 31 32 33 34 35 36 37 38 39 40 41 42 43 44 45 46 47 48 49baseURL = "http://example.org/" # [en, zh-cn, fr, ...] determines default content language defaultContentLanguage = "en" # language code languageCode = "en" title = "My New Hugo Site" # Change the default theme to be use when building the site with Hugo theme = "DoIt" [params] # DoIt theme version version = "0.2.X" [menu] [[menu.main]] identifier = "posts" # you can add extra information before the name (HTML format is supported), such as icons pre = "" # you can add extra information after the name (HTML format is supported), such as icons post = "" name = "Posts" url = "/posts/" # title will be shown when you hover on this menu link title = "" weight = 1 [[menu.main]] identifier = "tags" pre = "" post = "" name = "Tags" url = "/tags/" title = "" weight = 2 [[menu.main]] identifier = "categories" pre = "" post = "" name = "Categories" url = "/categories/" title = "" weight = 3 # Markup related configuration in Hugo [markup] # Syntax Highlighting (https://gohugo.io/content-management/syntax-highlighting) [markup.highlight] # false is a necessary configuration (https://github.com/dillonzq/LoveIt/issues/158) noClasses = false - 打开hugo服务: hugo server (若要远程打开, 则命令为:hugo server –bind 0.0.0.0)
- 打开博客页面: http://localhost:1313
头像
- 先弄个需要作为头像的图片, 将其放到/static/images/avatar.jpg
- 在配置文件中添加(这里图片的URL相对目录是相对根目录下static或assert目录的)
1 2 3 4 5 6[params.home.profile] enable = true # Gravatar Email for preferred avatar in home page gravatarEmail = "" # URL of avatar shown in home page avatarURL = "/images/avatar.jpg" - 将DoIt中/exampleSite/content文件夹中除posts以外的内容都复制到本博客的/content文件夹中(在此之前这个/content文件夹只有posts一个文件夹)
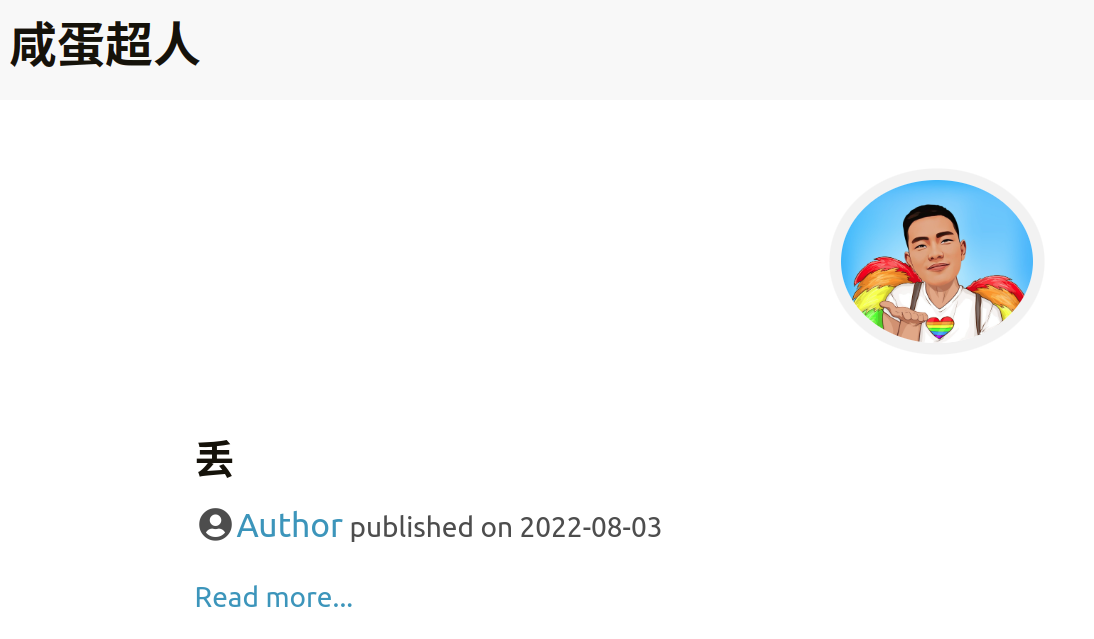
- 重新运行博客就有头像了
效果:

hugo内容组织
保持博客文章存放在 content/posts 目录, 例如: content/posts/我的第一篇文章.md 保持简单的静态页面存放在 content 目录, 例如: content/about.md
本地资源
有三种方法来引用图片和音乐等本地资源:
- 使用页面包中的页面资源. 你可以使用适用于 Resources.GetMatch 的值或者直接使用相对于当前页面目录的文件路径来引用页面资源.
- 将本地资源放在 assets 目录中, 默认路径是 /assets. 引用资源的文件路径是相对于 assets 目录的.
- 将本地资源放在 static 目录中, 默认路径是 /static. 引用资源的文件路径是相对于 static 目录的.
添加评论系统
|
|
- 首先安装utterances, 点进这个网址, 选择你要的作为评论系统的repository(可以建个新的, 也可以用已有的, 但必须是public类型的repository), 记录下你的仓库名. 有人在这里提供了详细操作截图.
- 将仓库名写入配置文件
1
2
3
4
5
6
7
8
9
# DoIt NEW | 0.2.5 Utterances comment config [params.page.comment.utterances] enable = true # owner/repo repo = "forrestk3/forrestk3.github.io" issueTerm = "title" label = "" lightTheme = "github-light" darkTheme = "github-dark"
这里要修改的有两处: enable 后在改成 true;repo 后面改成你的用户名/仓库名, 这个仓库名就是前面在utterances安装时选择的仓库, 是需要授权的;其实issueTerm使用默认的也行, 但我觉得"title"类型更合理.
-
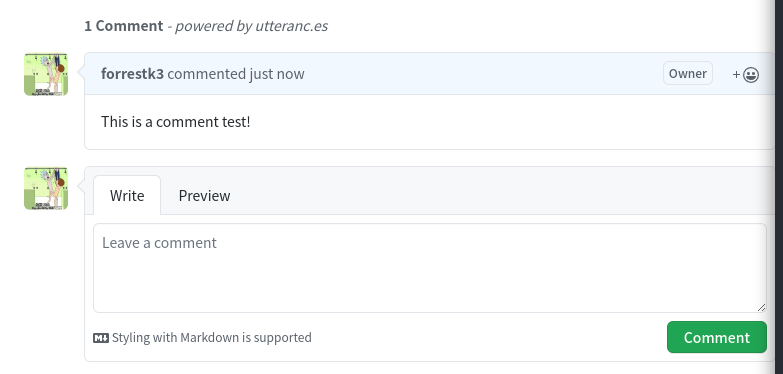
前面修改完后, 重新启动博客就可以在末尾看到我们添加的评论系统了, 效果如下, 因为我登录了, 所以能看到头像

-
这里需要注意的一点, 有的主题默认配置中有一项baseURL需要注释掉, 否则评论系统添加不成功(找了半天的错误)
-
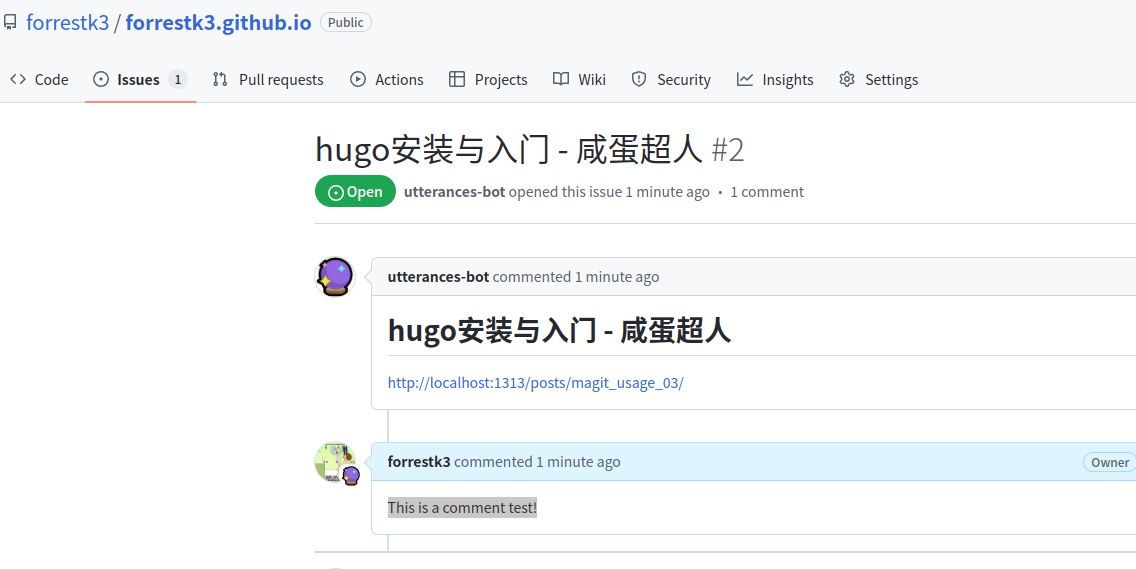
当我们添加评论后, 相关项目的issue会出评论留存.

查看项目issue:

如果这篇文章帮到了你, 那就赞助我一瓶水吧, 这可以让我有动力去写更多的文章
Sponsor